
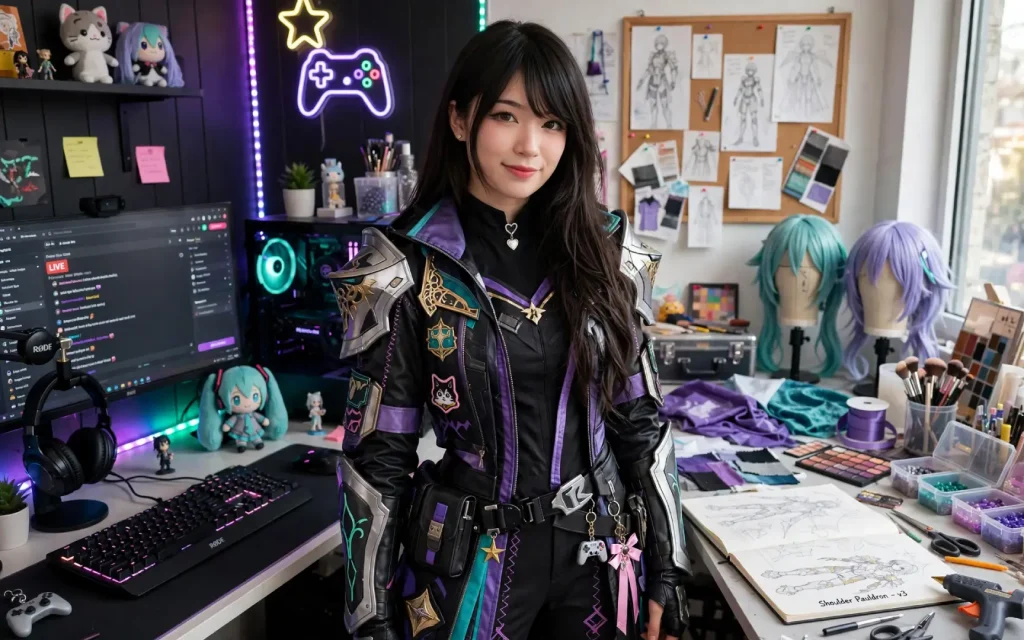
Emiru’s Ultimate Guide to Gaming Cosplay: From Streamer Looks to Convention Glory
The lights of your streaming setup are one thing, but the convention floor is a whole different beast. Transitioning a cosplay from a sitting-down, waist-up stream look to a fully mobile, convention-ready masterpiece takes strategy.
Whether you are looking to closet-cosplay your favorite League of Legends champion for a Twitch stream or build a massive armored set for a convention, this guide breaks down exactly how to level up your crafting game.
The Stream Look vs. The Con Floor: The Hidden Reality
When you cosplay on stream, you only need to look good from the waist up. You are sitting down, the temperature is controlled by your AC, and your lighting is perfectly dialed in.
Conventions completely flip the script. You will be walking for hours, dealing with crowded halls, and battling unpredictable convention center lighting.
Here is how the requirements shift when you take your cosplay out into the real world:
Mobility and Comfort
- On Stream: Comfort is King. You can wear sweatpants under a complex anime top.
- At a Con: Mobility is King. Your shoes need insoles, your armor needs flexible joints, and you must be able to sit down without breaking your props.
Durability
- On Stream: Fragile materials work fine because you aren’t moving. Glue-gun seams hold up perfectly when static.
- At a Con: Props will get bumped. Seams will be strained. Everything needs reinforced stitching, contact cement, and structural integrity.
Makeup Intensity
- On Stream: Ring lights wash out color. Ring lights also hide minor skin texture.
- At a Con: Natural or harsh fluorescent light reveals everything. Makeup requires heavy setting powder, setting spray, and precise blending.
3 Iconic Streamer Looks (And How to Build Them)
1. Casual League of Legends Sensations
Think Star Guardian Ahri or Academy Lux. These looks are perfect for beginners because they rely heavily on modified clothing rather than heavy armor smithing.
- The Base: Start with a pleated tennis skirt and a white button-up shirt.
- The Level-Up: Use fabric paint or iron-on vinyl to add custom character crests and trim to the collar and sleeves.
- The Wig: High-quality synthetic wigs with heat resistance are crucial. Use a crimper at the roots to add volume that holds up under camera lights.
2. Retro Arcade Vibes
Arcade-themed skins (like Arcade Sona or Arcade Riven) feature bright, neon color palettes that pop beautifully on camera.
- The Base: Brightly colored bodysuits or oversized graphic tees.
- The Level-Up: Use neon EVA foam (2mm thickness) to create lightweight headphones, hair clips, or shoulder pads.
- The Makeup: Lean into bright, graphic eyeliner and faux freckles. Use UV-reactive makeup if you plan on streaming with blacklights.
3. Cozy RPG Protagonists
Cozy looks like Animal Crossing villagers or Genshin Impact characters in casual modern clothes are stream favorites.
- The Base: Oversized knit sweaters, hoodies, and beanies.
- The Level-Up: Custom embroidery or felt patches sewn onto the clothing. Add prop elements like a hand-painted resin vision or a small plush sidekick.
- The Pro-Tip: Keep the wig styling soft and messy to match the relaxed aesthetic.
Step-by-Step Blueprint: Upgrading to Convention Masterpiece
Transforming a simple stream outfit into a competitive convention look requires upgrading your materials and reinforcing your build. Follow this four-phase blueprint to ensure your costume survives the convention floor.
Phase 1: Structural Engineering
If your character wears armor, ditch the flimsy cardboard. Switch to EVA foam (High Density).
- Use 10mm foam for main armor plates (chest pieces, pauldrons).
- Use 4mm to 6mm foam for bracers and greaves.
- Use 2mm foam exclusively for detailing and trim.
- Secure all joints with contact cement instead of hot glue. Hot glue melts in hot cars and convention parking lots.
Phase 2: Wig Defying Gravity
Stream wigs can be loose and soft. Convention wigs need to survive wind, crowds, and hours of movement.
- Crimping: Crimp the entire wig to create texture and volume.
- Backcombing: Tease the roots heavily to create a solid structure for spikes or high ponytails.
- Smoothing: Comb the top layer of hair over the teased section for a clean look.
- Locking: Freeze the style using industrial-strength hairspray (like Got2b Glued) and a hairdryer on low heat.
Phase 3: The 3D Printing Revolution
For intricate props, swords, and magical gems, 3D printing changes the game.
- Print props in sections using PLA filament.
- Sand the print starting at 120 grit and work your way up to 400 grit.
- Apply filler primer to fill in print lines.
- Repeat the sanding process until the surface is completely smooth before painting.
Phase 4: Weathering and Dimensions
Flat paint looks cheap under convention center fluorescents. You need to add artificial depth.
- Shadows: Water down black or dark brown acrylic paint, wash it over the armor cracks, and wipe away the excess with a paper towel.
- Highlights: Use a dry brush technique with silver or light gold metallic paint on the edges of the armor to simulate battle damage and wear.
Pro-Tips for Staying Alive on the Con Floor
No matter how incredible your cosplay looks, the experience ruins itself if you are miserable. Pack a Cosplay Survival Kit in your con bag:
- Safety Pins & Super Glue: For emergency wardrobe malfunctions.
- Moleskin & Bandaids: To prevent blisters from your character shoes.
- Portable Fan: To slide under your wig or armor to cool down.
- Snacks & Hydration: Liquid IV packets and protein bars keep your energy up without ruining your lip gloss.
If you want to dive deeper into crafting, let me know:
- Which character or game you are planning to cosplay?
- Your current experience level with crafting (beginner, intermediate, or advanced)?
- Whether you want to focus on sewing or armor making?
I can give you a tailored breakdown of materials and techniques for your specific project!
Leave a Reply